Laser Cutting in FabLab
I made a small project to see documentation process for FabLab project. And you can find my documentation in below.
Laser Cut Coaster
Step 0. Introduction
I wanted to use Laser Cutter in FabLab so, created a small project to see documentation process. I will laser cut and engrave 4 coasters. I chose the following design but, you can personalized it for yourself.
Step 1. Design
Before begin to cut, a design file is needed. I used Inkscape to create my design and export it as PDF. The laser cutter in FabLab Oulu is Epilog Fusion M2 40 Laser. It is capable to cut vectors and engrave certain objects. In the design the settings must be like below.
For cutting:
- Fill: No paint (aka. No Fill)
- Stroke Paint: Flat Color -> Black (0,0,0)
- Stroke style: Width 0.02 mm - continues line
For engraving:
- Fill: Flat Color -> Black (0,0,0)
- Stroke Paint: No paint (No stroke)
- Stroke style: Width 0
My settings in Inkscape was like that.
 Settings for laser cutting.
 Settings for laser engraving.
I used 8 cm X 8 cm rounded square to describe lines of each coaster so, they will cut out.
And to engrave on coaster, I wanted to engrave zodiac symbols of my parents, sister and mine.
I found a font from web which is KR Astro 1 by Kat’s Fun Fonts, it can be found here.
It is only for personal use so, do not use it for commercial purposes. After I installed the font,
I created text area in Inkscape and found the symbols that I want with a trial and fail process.
I set the text size as 144px and placed them in middle of each square (or almost middle).
 How it looks in Inkscape.
To export it as PDF follow these steps:
File -> Save As -> Select PDF as file format
In addition, I created a small version of same design in a different svg file to
test that everything is okay. I did the same things but I used 2 cm x 2 cm square
and a font size that fits in it.
Therefore, my plan is first cutting small test design then cutting the original one.
Step 2. Test Cut
Before cutting the normal sized design, I wanted to see if everything is okay so,
I cut the small scaled version. I used 3 mm transparent acrylic for this project.
Steps for cutting are these:
- First turn air filter on.
- Place the material in the machine and set the start point (Joystick can be moved in Jog mod).
- Put the metal triangle and set the head to touch material. After that remove the triangle.
 It is not clear because of material is transparent but, triangle touches to it.
- On the computer, open your pdf file.
- Send it to cutter from printer options.
- In the options menu, select “Combined” under General tab since I wanted to cut and engrave.
- Go to advance tab and select the related material.
 Settings of machine.
 Name of the file and finish time can be seen on the machine.
- After you see the name of the file press
Go.
There was a problem in my test file. It was engraved but was not cut.
After inspected my small scale objects, I realized that while scaled down, it also lowered
stroke width value to 0.005 mm.
Since the engraving done, I removed engraved part from SVG file and set vector’s
stroke width as 0.02 mm. Then only cut the empty outline so, it can be done.
 2 cm x 2 cm test objects.
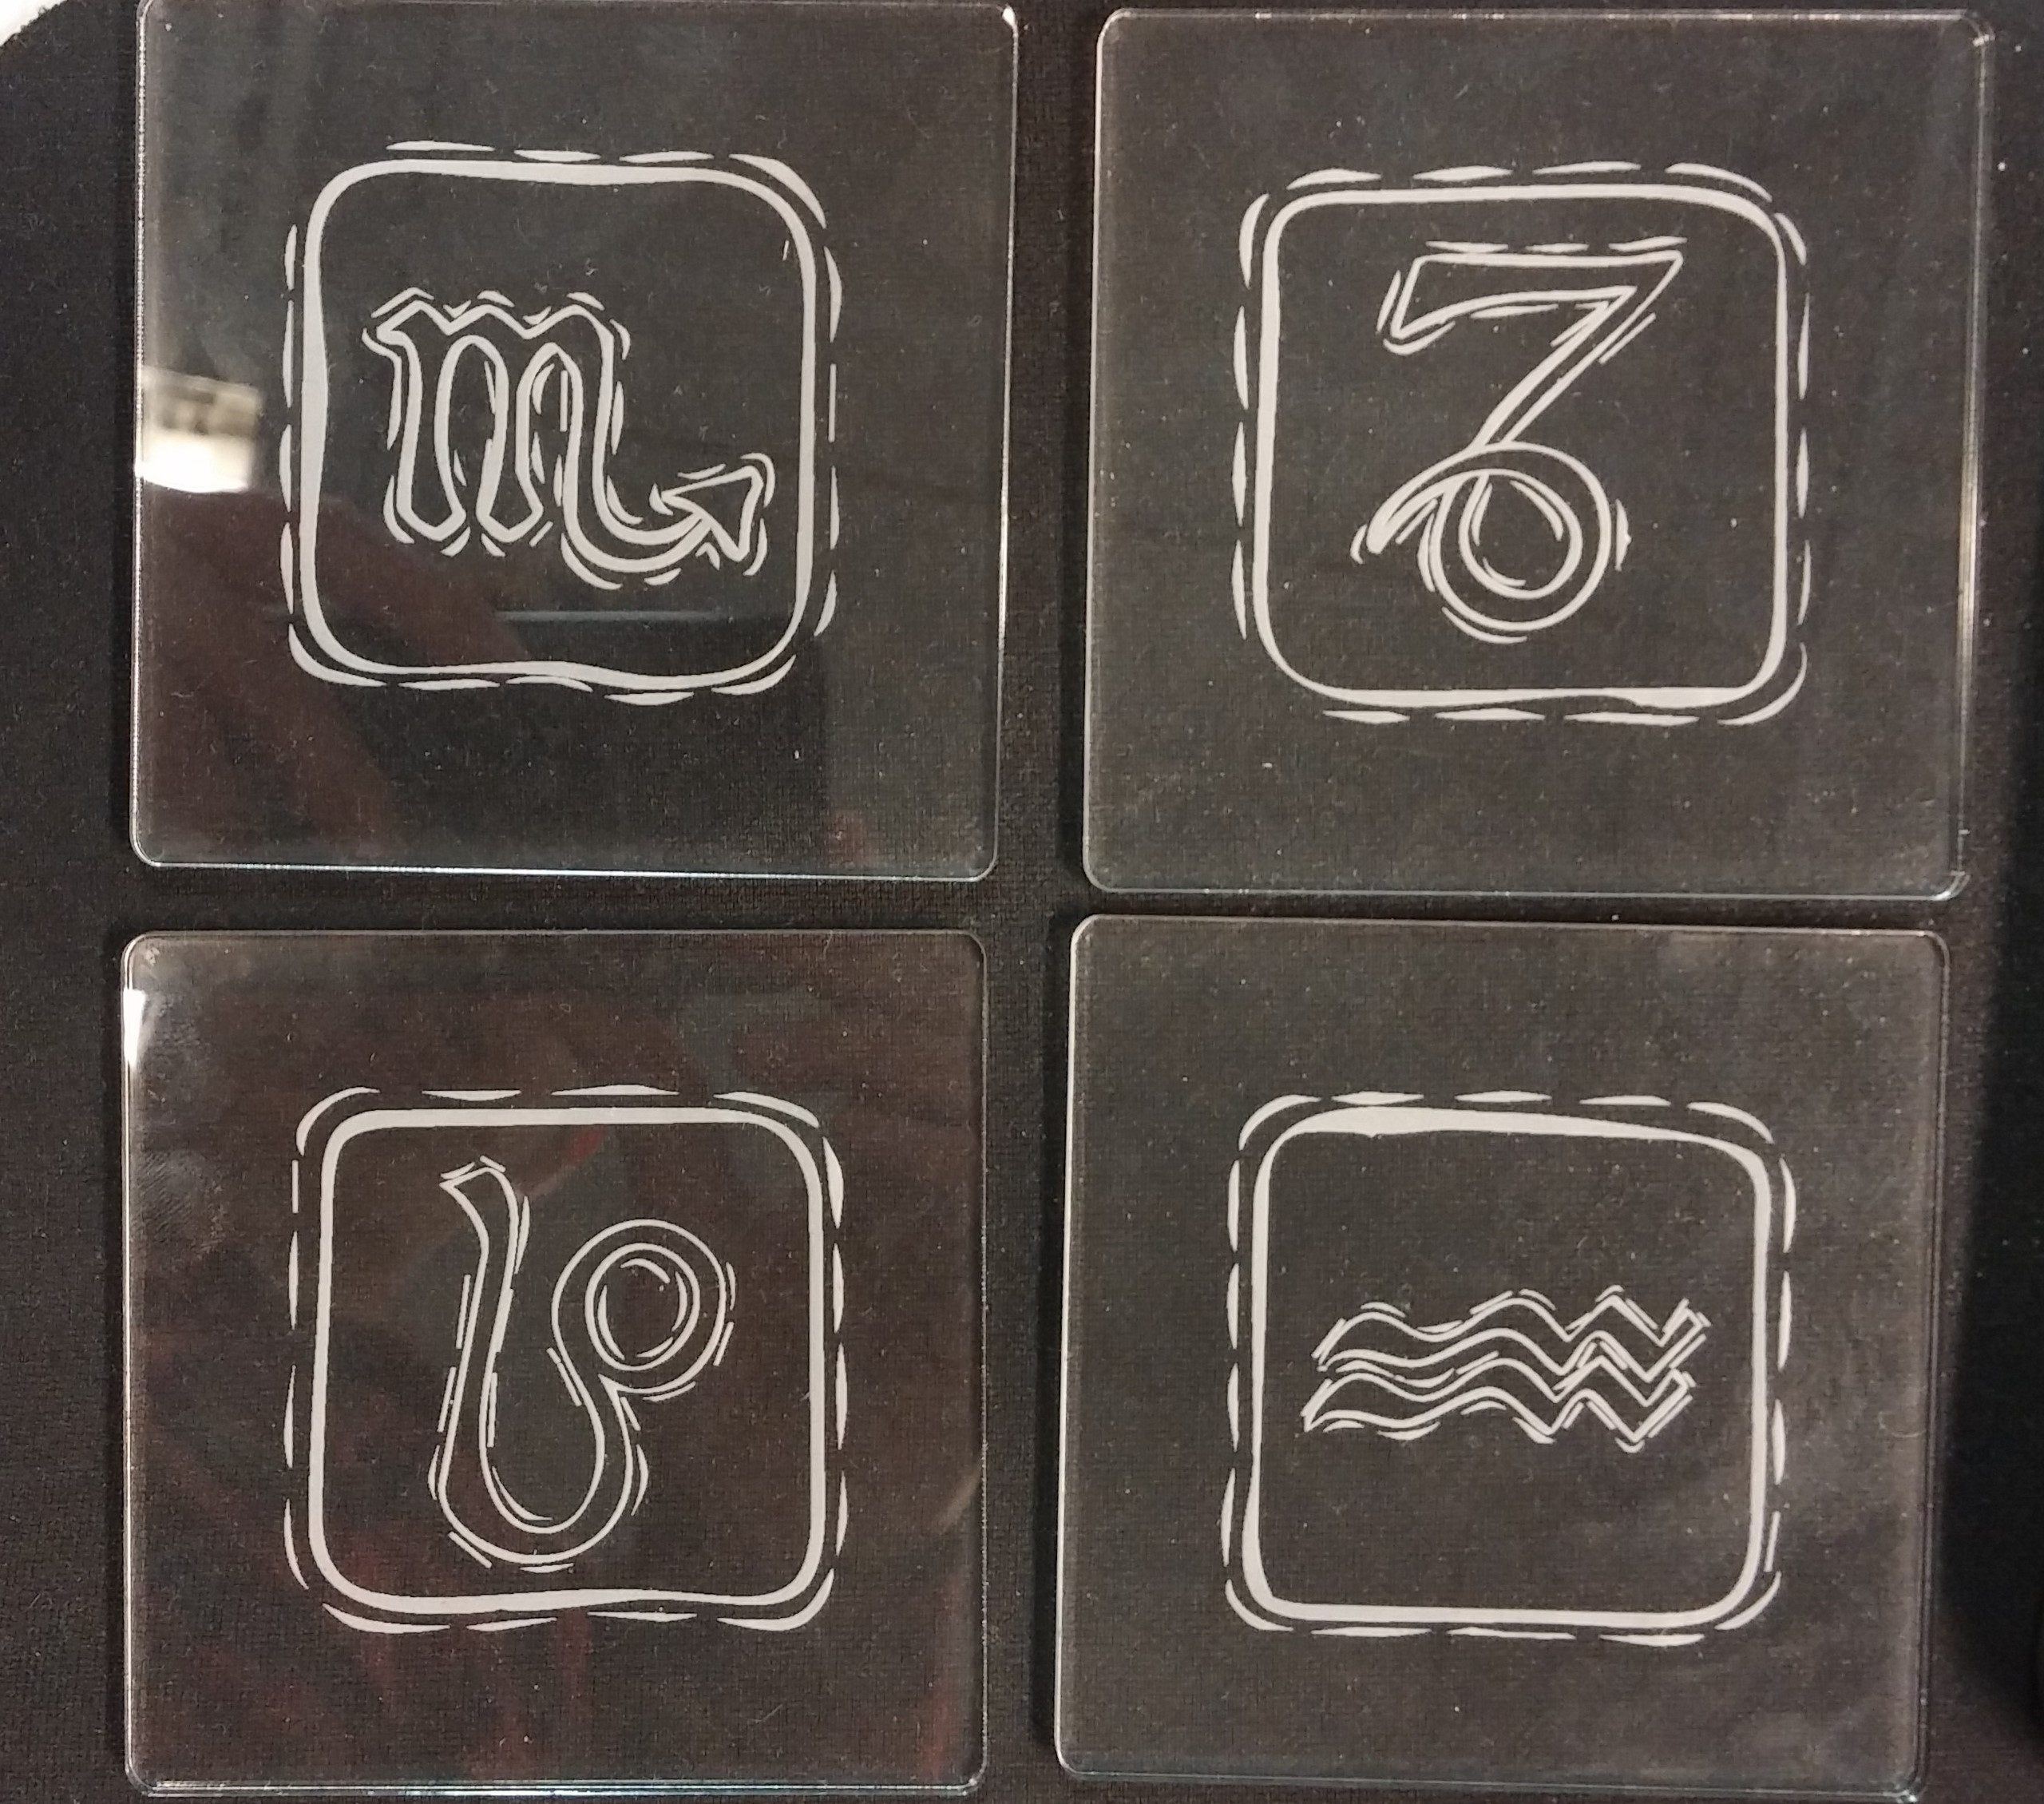
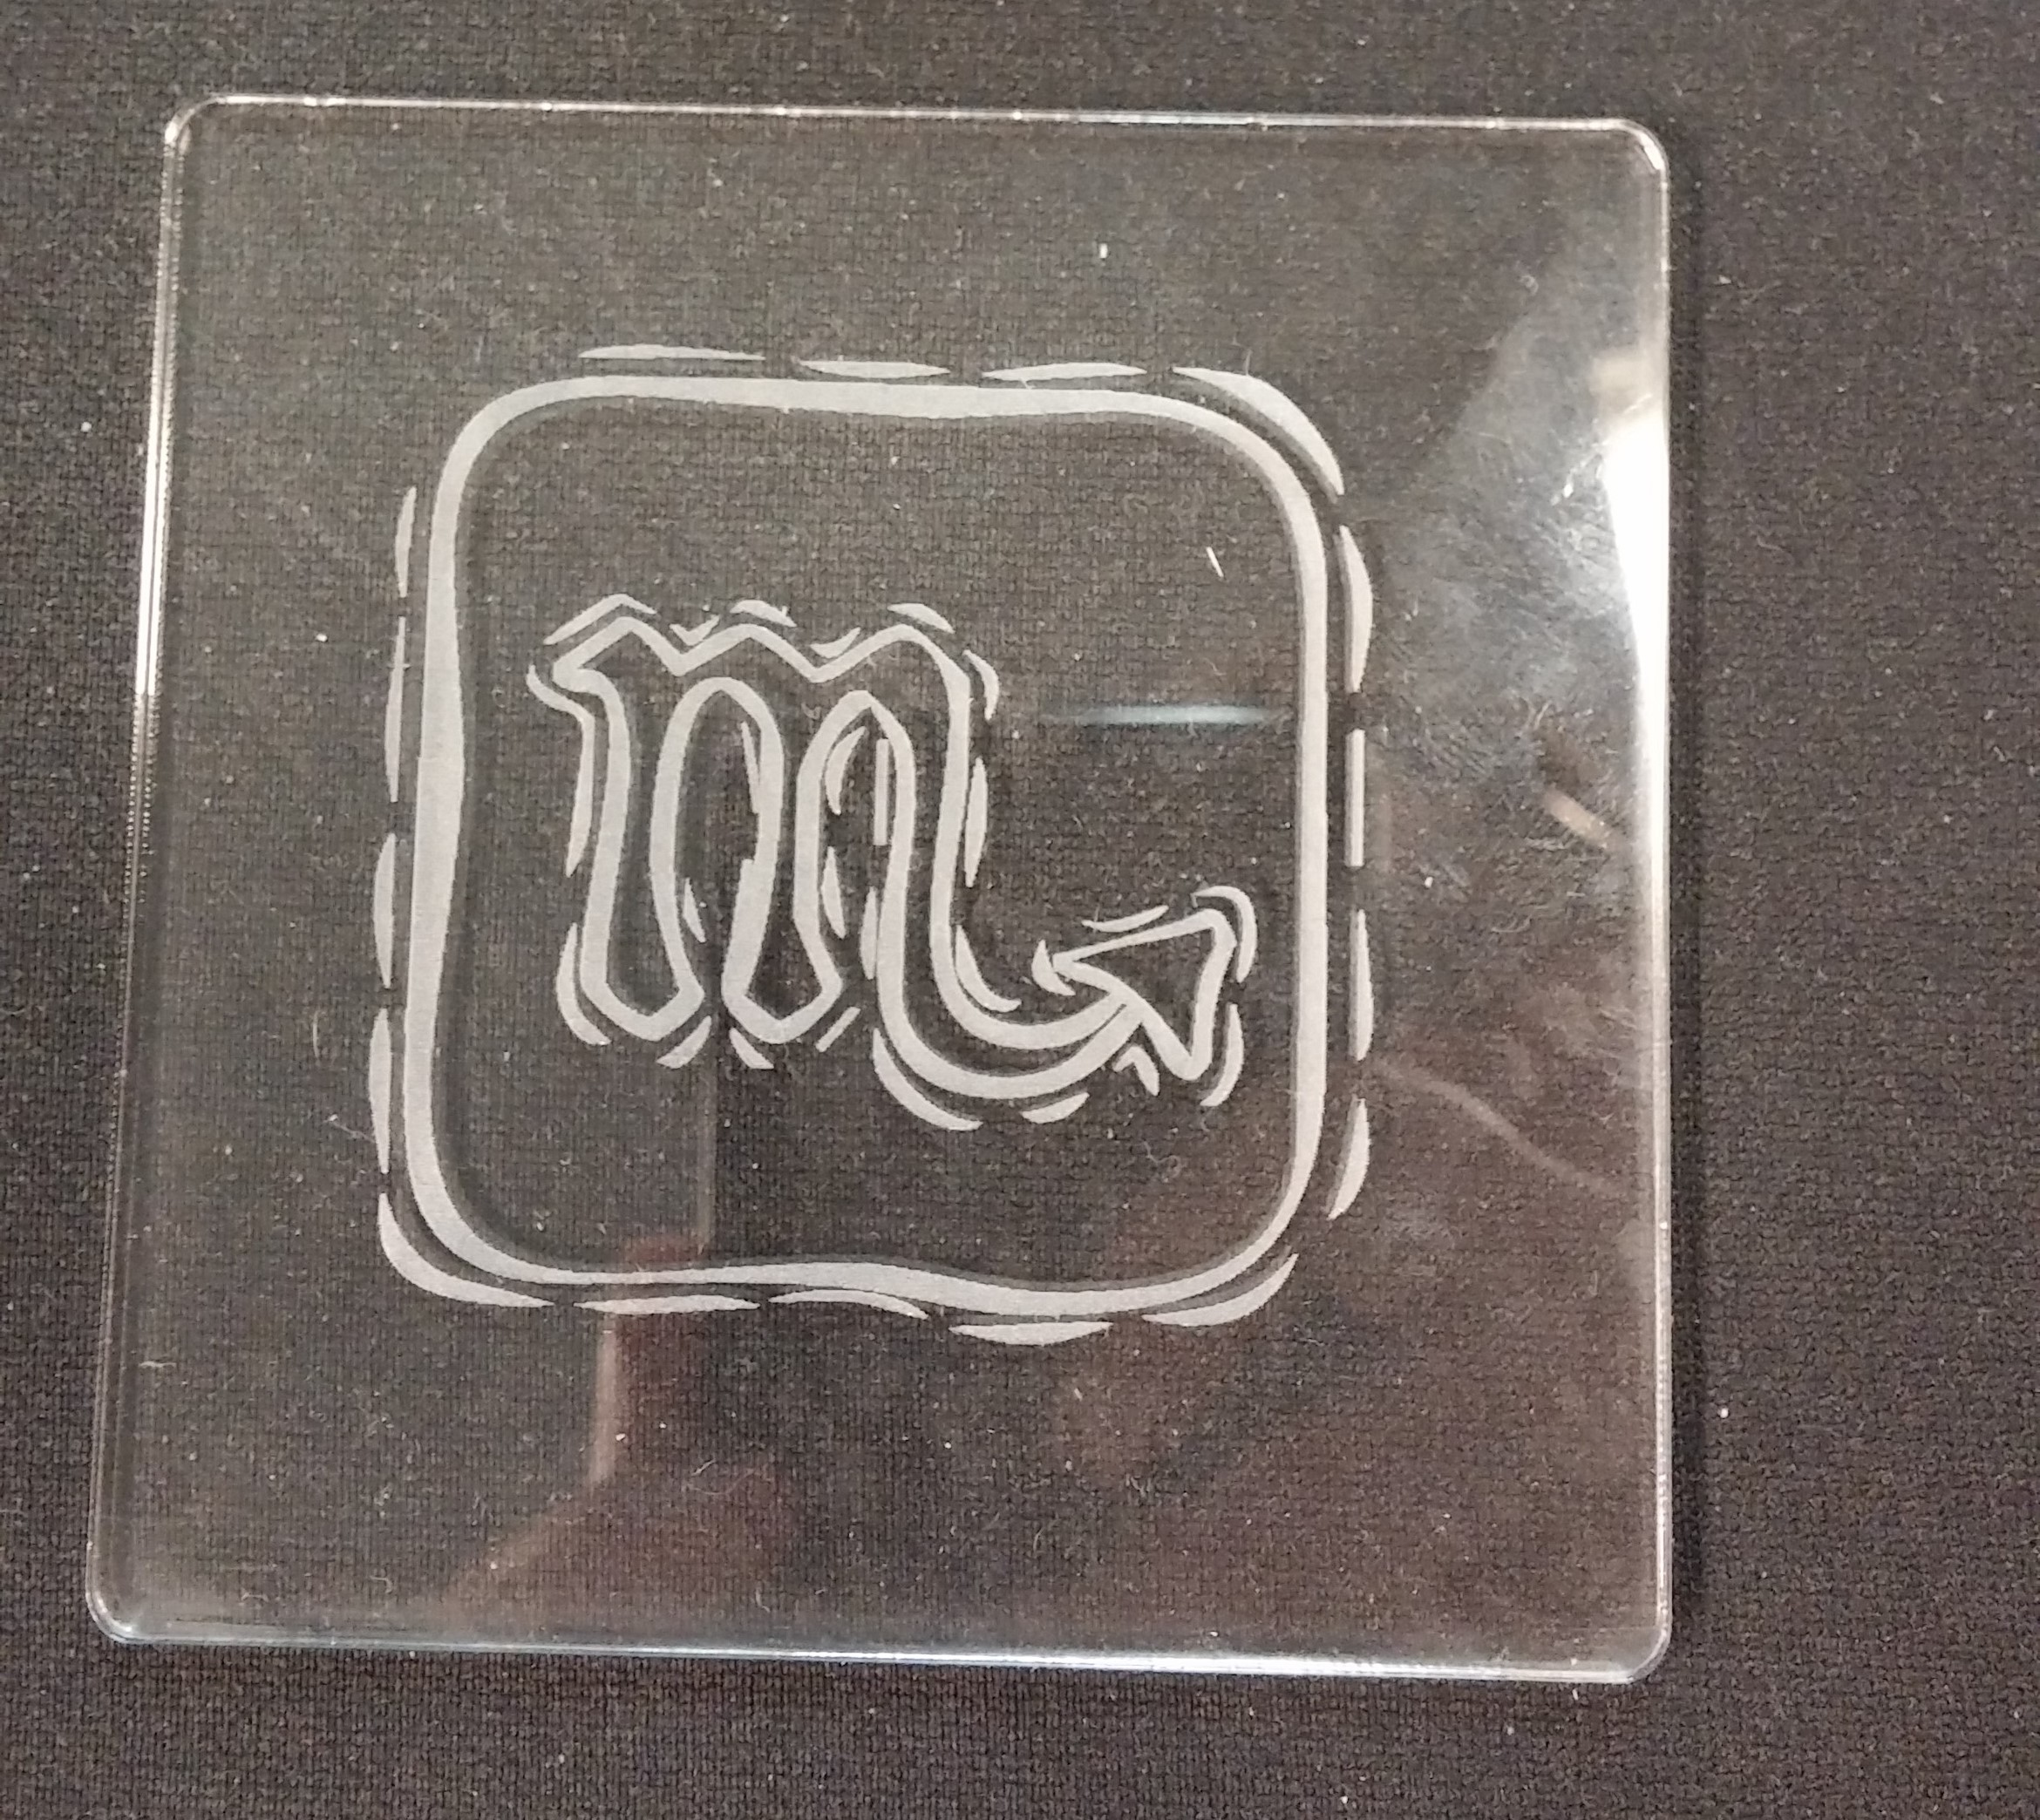
Step 3. Final Cut
After test cut, I recheck my original design file to see everything was okay. I send it to the cutter with the same properties as described above. This time, there was no problem and I finished making coasters for myself.
SVG files and PDF outputs can be found under files list.
Files
List of Software
- Inkscape
List of Hardware
- Epilog Fusion M2 40 Laser
Let me know what you think of this article on twitter @onurozuduru or leave a comment below!

